
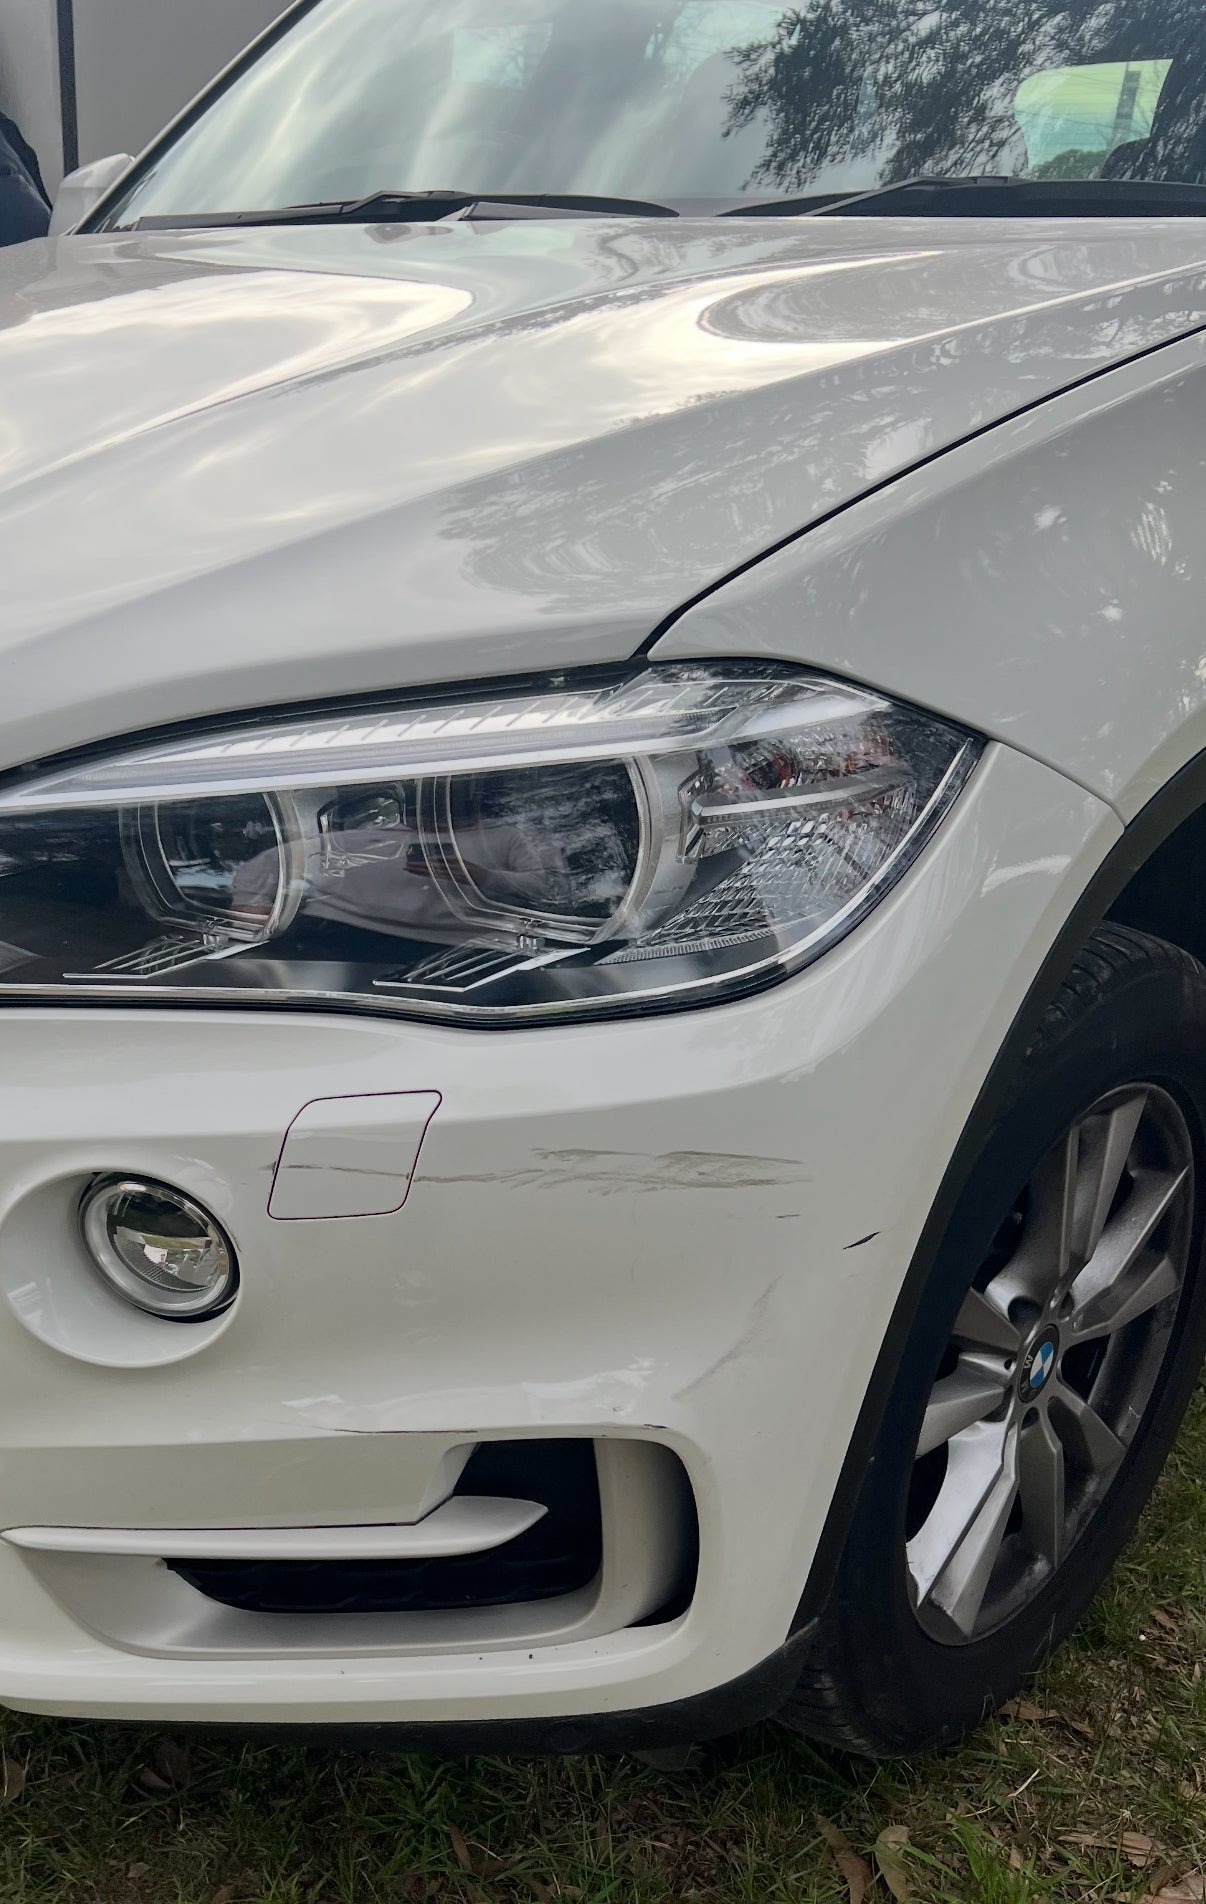
Stone chips, car park scratches, keyed doors, faded panels. Every car picks up a few over the years, and most of them don't need a $2,000 trip to the panel shop. With the right automotive spray paint and a bit of patience, you can sort these out at home with nothing more than a couple of spray cans.
This guide takes you through the whole job. Finding your factory colour code, prepping the panel, laying down primer, basecoat and clear, then cutting and polishing so the repair blends back into the original paint.
It works the same whether you're dabbing at one stone chip or respraying a whole bumper. And it's a lot more doable than most people think.
Can You Really Repair a Car with Spray Cans?
You can, and the results can look surprisingly good when the colour is matched to your car's factory code and you take your time.
Modern OEM touch-up aerosols run the same basecoat and clear coat system a panel shop uses. It's just in a can instead of a spray gun. You don't need fancy gear. What you do need is the exact right colour matched to your paint code (not a "close enough" tin off the hardware shelf), proper preparation, and thin coats rather than one heavy pass. Most bad results come from skipping the prep or rushing the paint, not from the paint itself.
Spray cans are perfect for chips, scratches, small rust spots, wheels, mirror caps, trims and single small panels. You can do bigger jobs like a full door or bonnet too. You'll just go through more cans and need to be more careful with the overlap of your spray pattern.
What You'll Need for a Spray Can Car Repair
Get everything on the bench before you start so you're not running back to the shed halfway through:
- Colour-matched OEM basecoat aerosol (matched to your paint code)
- Clear coat aerosol (this is what gives you the gloss and protects the colour)
- Primer aerosol (etch primer for bare metal, filler primer for sanded areas)
- Wax and grease remover (cleans contaminates off surfaces)
- Wet-and-dry sandpaper in a few grits: P320, P500-P600, P800, P1500 and P2000 (P3000 as well if you're finishing black or a dark colour, and something coarse like P80-P120 if you've got rust to cut back)
- Masking tape and masking paper (or newspaper)
- Tack cloth
- Cutting compound and polish
- Microfibre cloths
- Nitrile gloves and a respirator or mask, and good ventilation
One tip before you start: buy a spare can of clear. Running out of clear halfway through the gloss coats is the easiest way to wreck an otherwise good repair.
Step 1: Find Your Car's Exact Paint Colour Code
Get this bit right and the rest is easy. Get it wrong and nothing else matters. A generic "white" or "silver" from a general store is never going to match, because factory colours are specific formulas and there can be dozens of versions of what looks like the "same" colour.
Your paint colour code is stamped on a compliance or build plate. Have a look in these spots:
- Inside the driver's door jamb
- Under the bonnet, on the firewall or strut tower
- In the glovebox or the spare wheel well
- On the B-pillar
You're looking for a code marked Colour, Paint, C/TR or similar. It's usually a short mix of letters and numbers, something like 1G3, PW7 or 40W.
Once you've got your make and that code, you can order a colour-matched touch-up aerosol made to that formula. At Prompt Paint we match to your OEM code, so the can you spray is the colour that left the factory rather than a guess.
Can't find your code? A colour-matching service with a spectrophotometer can read your existing paint and mix a match to it. That's handy on older or faded cars where the factory colour has drifted over the years.
Step 2: Assess the Damage
How you tackle it depends on how deep the damage goes:
- Surface scratch in the clear only: often polishes out, so you may not need paint at all.
- Down to the colour coat: needs basecoat and clear.
- Down to primer or bare metal: needs primer, basecoat and clear.
- Rust: the rust has to come off and be treated first, or it'll bubble straight back through your fresh paint.
Run a fingernail across the damage. If it catches, it's deep enough to need filling and paint.
Step 3: Clean and Degrease the Area
Wash the panel with car soap and dry it, then give the repair area a good wipe with wax and grease remover. This lifts off polish, wax, silicone and road grime that would otherwise stop the paint sticking.
Skip it and you'll get fish-eyes, those little craters that show up in fresh paint where something repelled it. Two minutes of degreasing now saves you hours of doing it again later.
Step 4: Sand the Area
Sanding gives the new paint something to grip, and it feathers the edges so the repair sits flush instead of standing proud.
- Bare metal from a chip or scratch: key the bare spot and feather the edges with around P320. Etch and self-etch primers want a surface roughly that grit to bite into, and some painters go up to P400 as the final key.
- Rust: don't try to do this with fine paper. Cut the rust right back first with something coarse like P80, then P120 to level it, and treat it before you go any further. Once it's clean and rust-free, finish around P320 before you prime.
- Chipped or scratched paint: feather the edges with P800, sanding a bit past the damage so there's no hard lip.
- Whole panel respray: scuff the entire panel with P800 so the clear has something to key into.
Sand wet where you can, since it clogs less and cuts finer, then wipe it clean and dry. You want it smooth, with no sharp step between the old paint and the bare spots.
Step 5: Mask Off
Mask off anything you don't want painted: trims, glass, rubbers, the panels next door. If you're blending into a bigger panel, try reverse masking, where you fold the tape back on itself. That softens the paint edge so you don't get a hard line.
Don't rush this part. Neat masking is honestly the difference between a repair that looks tidy and one that looks like a home job.
Step 6: Apply Primer
Shake the can hard for a good couple of minutes. Hold it about 20 to 25 cm off the surface and put it on in light, even passes, always keeping the can moving. Hold it still in one spot and you'll get a run.
- Bare metal: hit it with an etch primer first so it bites into the metal, then a filler or build primer over that.
- Sanded paint: a filler primer levels out the sanding marks and gives you an even base.
Two or three thin coats, leaving the flash time on the can between each. Once it's dry, give the primer a light sand with P500-P600 until it's smooth and level, then wipe it clean.
Step 7: Apply the Basecoat (Colour)
Now the colour goes on. Shake the can properly, and give it longer than you think for metallics and pearls. If the flake isn't fully mixed the colour comes out patchy.
- Thin, even coats, keeping the can moving at a steady speed.
- Overlap each pass by about half.
- Wait the flash time, usually 10 to 15 minutes, between coats.
- Build it up over two to four light coats rather than trying to cover in one.
Resist the temptation to lay it on thick to hide the repair faster. Thin coats give you even colour and keep runs away. On metallics, a final "control" coat from a bit further back helps the flake lay down evenly and match the panel around it.
Let the basecoat dry to the touch before you clear over it. Don't leave it too long though, because most systems want the clear on within a set window. Check your product for the timing.
Step 8: Apply the Clear Coat
The clear is what gives you the gloss, the depth and the protection. Leave basecoat without clear over it and it'll look flat and won't last.
- Put the first clear on as a light tack coat to grab the surface.
- Follow with two or three wetter, fuller coats, leaving the flash time between each.
- Keep the can moving and overlap evenly so the gloss is consistent.
- Feather the clear a little past the colour to blend the edge in.
Then let it cure. It'll feel dry pretty quickly, but proper hardness takes longer, so give it a day or two before you cut and polish if you can spare the time.
Step 9: Wet Sand and Polish (Cut and Buff)
This is the step that lifts a decent repair up to a really tidy one. Once the clear has cured:
- Wet sand the clear with P1500 then P2000 to knock back any orange peel and level it off. That's plenty for most jobs. If you want to make the cutting easier, or you're working on black or a dark colour where every swirl shows, take it a step further to P3000. Keep it wet, use light pressure, and remember you're levelling the clear, not cutting through it.
- Cut it with a cutting compound and a microfibre, or a machine polisher if you've got one, to bring the gloss back.
- Finish with a polish to clear any haze and match the shine of the paint around it.
Do it properly and you'll struggle to pick where the repair starts and stops.
Common Mistakes to Avoid
- Wrong colour. Skipping the code and grabbing a generic can. Always match to your OEM code.
- Skipping the degrease. You'll get fish-eyes and paint that peels.
- Heavy coats. That's where runs, sags and orange peel come from. Keep them thin.
- Rushing the flash times. Trap solvent under the next coat and you'll get wrinkling and slow curing.
- No clear coat. Basecoat on its own looks dull and won't survive.
- Painting in bad conditions. Cold, humidity, wind and dust all ruin a finish. Pick a still, dry, mild day and stay out of direct sun.
Which Repairs Suit Spray Cans, and Which Don't
Great for spray cans:
- Stone chips and small scratches
- Kerbed alloy wheels
- Mirror caps, trims and small plastic parts
- Small rust spots, once treated
- Single small panels and bumpers
Better off with a pro or a spray gun:
- Full multi-panel resprays
- Big metallic panels where matching flake across a large area gets tricky
- Structural or deep collision damage
Even so, for most of the everyday cosmetic stuff, a colour-matched aerosol does the job for a lot less than a panel shop would charge.
Frequently Asked Questions
How long does spray can car paint take to dry? Basecoat flashes off in about 10 to 15 minutes between coats. Clear is touch-dry within the hour but takes a day or two to cure hard enough for cutting and polishing.
Do I really need a clear coat over the colour? On modern basecoat and clear finishes, yes. The clear gives you the gloss and the UV protection. Colour on its own will look flat and fade. Older single-stage colours are the exception.
How do I find my car's paint code? Check the driver's door jamb, under the bonnet, the glovebox or the spare wheel well for a plate listing the colour or paint code, then match your aerosol to it.
Can I touch up metallic and pearl paint with a spray can? Yes. Colour-matched metallic and pearl aerosols are available. Shake the can well, put it on in even coats, and finish with a lighter control coat so the flake lays down and matches the panel.
Why did my paint bubble or wrinkle? Usually trapped solvent from coats put on too heavy or too fast, or spraying over contamination. Thin coats, proper flash times and good prep sort it out.
Are automotive spray cans safe to use at home? They're solvent-based, so work in a well-ventilated spot, wear a respirator and gloves, and keep them well away from anything that could ignite. Aerosols are classed as dangerous goods, so store and dispose of them sensibly.
Ready to Get the Right Colour?
The hard part of a good spray-can repair isn't the technique. It's getting the exact right colour. Match it to your OEM code and the rest is just prep and patience.
At Prompt Paint we make colour-matched OEM touch-up aerosols to your car's factory paint code, plus the primers, clears and sandpaper to go with them, so you can order the whole job in one hit and get a finish you'll be happy with.
Grab your paint code, jump online or drop into the trade counter, and let's get your car looking sharp again.